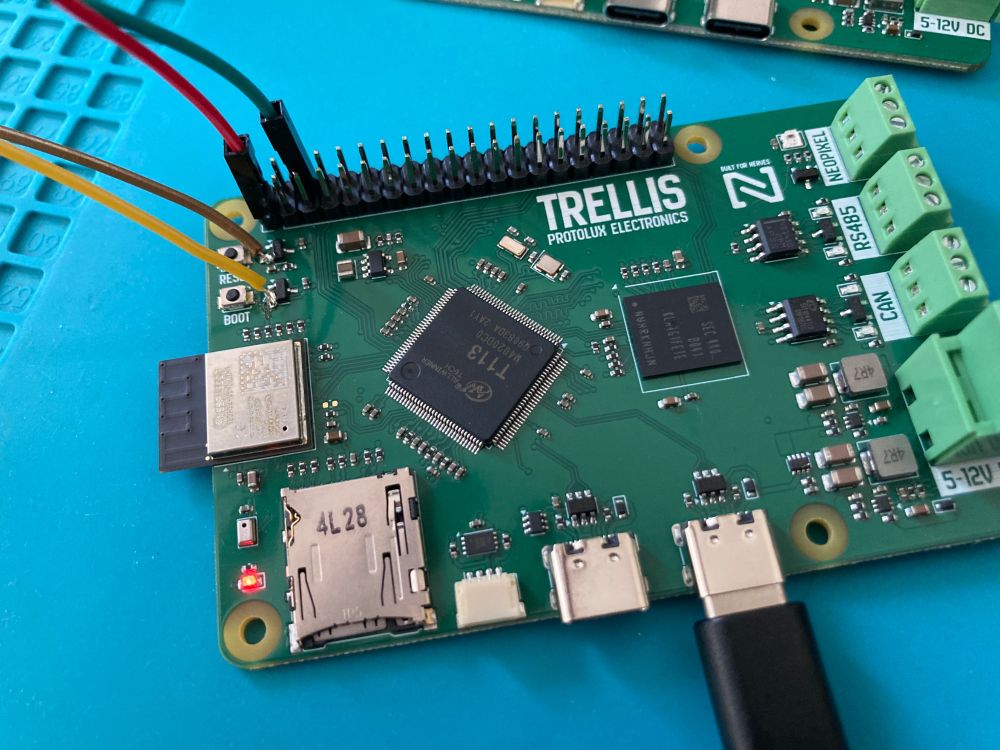
- Meetings are almost done for the day, which means it's time to start @nerves-project.org bring-up ⚡️🌱 Will be documenting progress hereApr 14, 2025 13:18
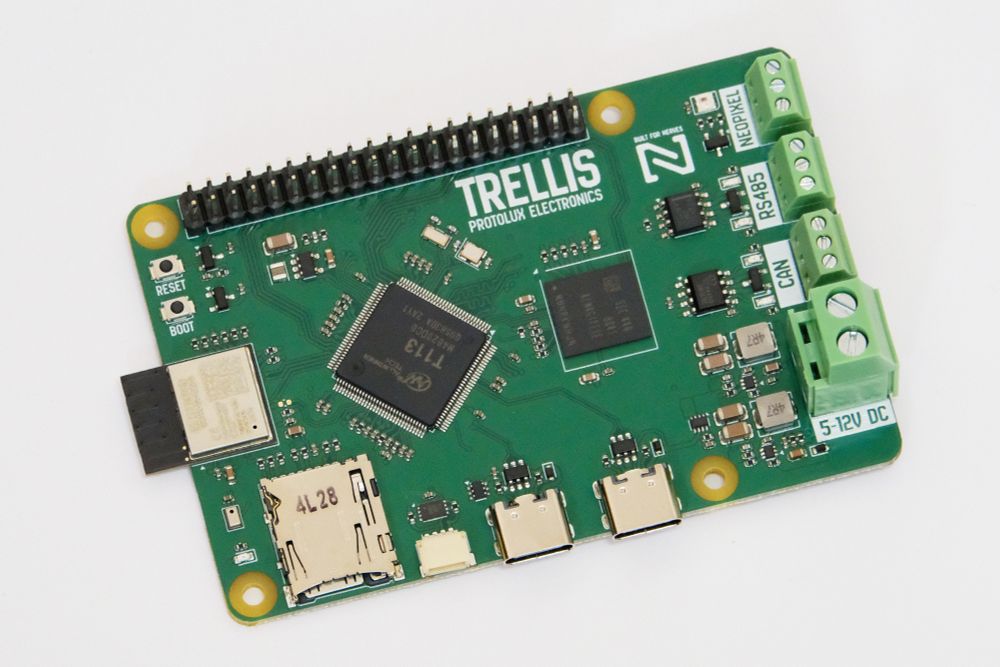
- First, a smoke test. This is where I plug in the power and check the outputs of the several voltages on board. If it fails (because of bad design, solder issue or something else), you know because it releases the magic smoke 😅
- Fortunately there are no issues: 5.11V on the 5V output 3.32V on the 3.3V output 0.904V on the 0.9V output And the power LED lights up! In total, with the board powered but no code running we are consuming 27mA @ 6V input, or about 150mW
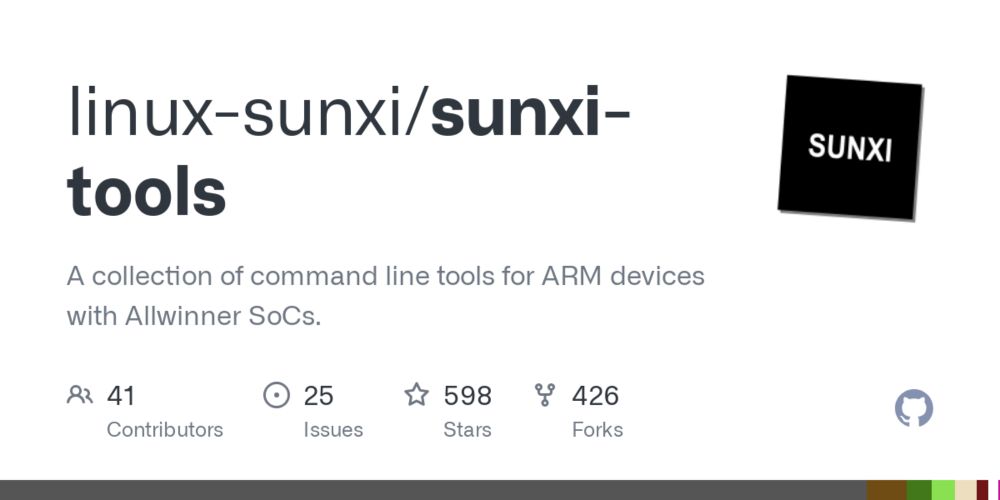
- The next test: check the default vendor bootloader. I installed the sunxi-fel tool from source. On Mac, it required a `brew install libusb dtc` then `make tools` built all of the host-side binaries without issue. github.com/linux-sunxi/...
- I plugged in USB-C to my computer, ran `./sunxi-fel --list`, and.... Nothing 😅 No USB device is showing up, so I guess that means I have some hardware debugging to do
- I think it comes down to one of several possibilities: - The reset pin is pulled low - The crystal oscillator load caps have the wrong value - The ESD diodes are interfering with the USB signal I'm thinking either option 1 or 2, because 27mA current draw seems low, even for the processor at idle
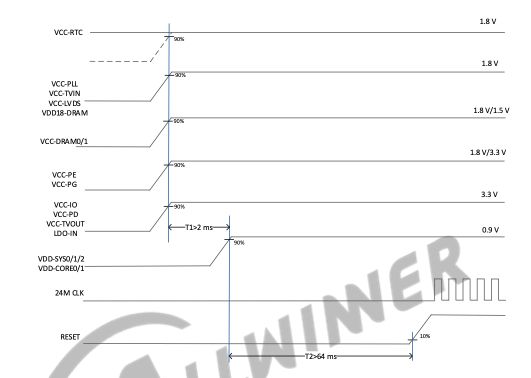
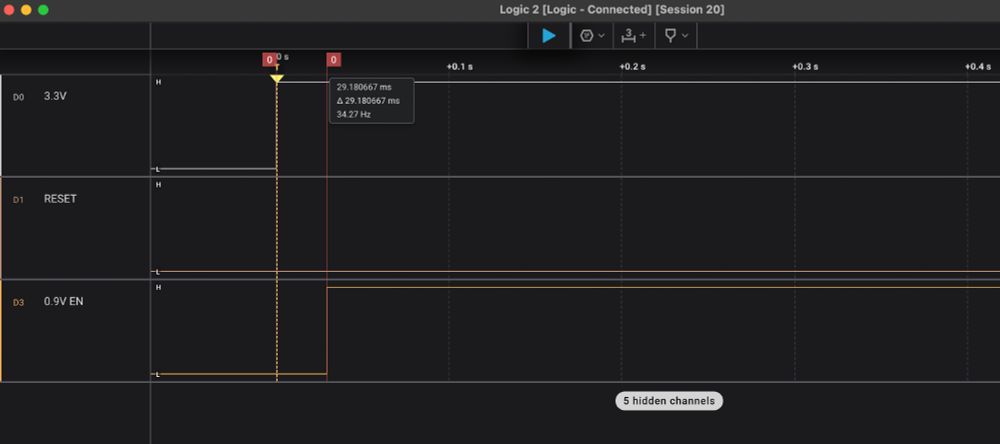
- It looks like it is option 1 - reset is steady at 0.393V The reset timing is a little complicated, but it essentially needs to hit 3.3V after at least 64ms after the other power rails have stabilized. I designed for 240ms of delay. But looks like that's not working, so time for some solder surgery
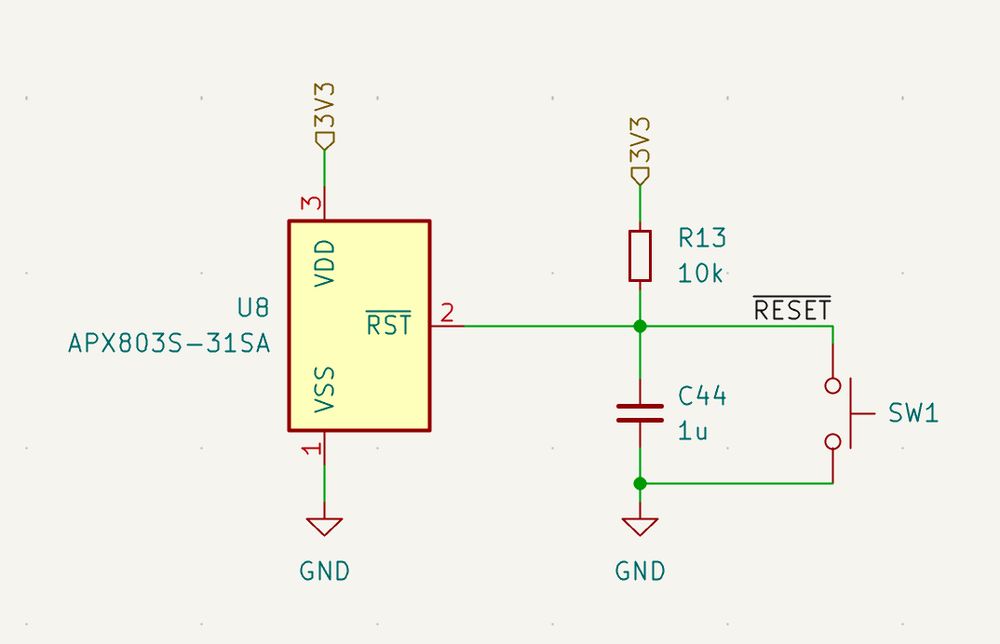
- The fix here is to rip out the reset controller, and use the charging of the RC circuit to drive the reset pin. Based on the calculator linked, I want: 140k resistor 1uF capacitor We'll see what I have on hand, but I'll try the already-mounted 10k / 1uF to start ladyada.net/library/rcca...
- After a bunch of debugging, I determined the issue was due to a bad ground connection `sunxi-fel --list` now outputs the chip ID. @nerves-project.org bringup via uboot and buildroot is next!